Description: The purpose of this article is to provide a broad introduction to the usage of custom config files for provisioning devices in the context of the Advance Provisioner App.
The Advance Provisioner App serves as the primary digital workspace for configuring advanced settings on provisioned devices. Regrettably, our Advance Provisioner App does not cover every feature available on the phones, but some vendors support the use of multiple config files. In this way, you can use custom config files to set features we do not cover with the Advance Provisioner App or override settings we do not expose.
If you want to use custom config files to add some previously unavailable features, we kindly request that you initially test the device without applying any custom config file settings before reaching out to our support team. This practice will greatly simplify the troubleshooting process in case of issues.
It's important to emphasize that our company bears no responsibility in the event of any damage to your device while attempting to implement a new custom config file with features not supported by our Provisioner.

Please be aware that any such actions are undertaken at your own risk.
Presently, only Yealink (with firmware v81+) and Polycom support the use of custom config files within the Provisioner.
Custom Config Files for Polycom
After getting access to the device's web interface, locate the provisioning section. This is the server from which the Polycom device will retrieve its custom config file. The provisioning server supports the ability to add a custom attribute to Polycom phones named config_files (case-insensitive), which must contain a comma-separated list of files.
If the specified files exist in the "\i3\ic\provision\polycom" directory on the CIC server, provisioning will include these files listed in the "config_files" attribute for Polycom devices. The system will request these files after provisioning generates the config files, enabling administrators to set custom config file attributes that provisioning doesn't manage, such as microbrowser settings.
You can refer to the official Polycom manual for guidance on setting the Master configuration file by following this link.
Custom Config Files for Yealink
To create a custom config file for a Yealink device, you can easily use a text application like Notepad or any other compatible text editor to create a *.cfg file that adheres to the guidelines provided in Yealink's official Configuration Files guide, accessible via this link (pdf file).
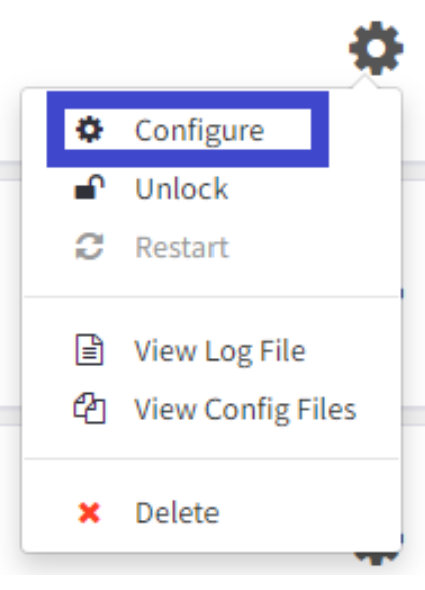
Once your file is prepared, you can upload it via the Advanced Provisioner App. To do so, start by selecting the Gear badge within the Device Tile of the configured device. Next, choose the "Configure" option from the dropdown menu.
Once you're in the device configuration mode, go to the Settings tab.

Here, you'll discover the field where you can enter the URL for the custom config file you have created.

You can also upload the custom config file using the Yealink Configuration Generator Tool, an application designed specifically for configuring Yealink devices. Upon gaining access to the tool, navigate to the Menu bar to initiate the upload of your custom config file. Furthermore, you have the option to preview the uploaded file in the right-hand section of the application.
To get instructions on using the Yealink Configuration Generator Tool, refer to the official Yealink guide dedicated to this application, which you can access by following this link (pdf file).
Troubleshooting
Before contacting our support team, consider attempting these steps if you encounter any issues.
- Reboot the device to initiate the update of the config file.
- Verify the accuracy of the base provisioning URL.
- By default, it should be set to p3.zswitch.net. If you have it whitelabeled, please make sure it correctly resolves to our provisioning server. If the phone cannot establish a connection with our provisioning server, it will not receive any updates to its settings.
- Reset the provisioning URL to the base provisioning URL.
- Factory reset the device and then repeat the provisioning process.
Under certain circumstances, if a device is removed and subsequently re-added to the Provisioner, phones may mistakenly search in an incorrect directory for their configuration file.
If none of the aforementioned methods have resolved your issue, please contact our customer support for assistance.
Was this article helpful?
That’s Great!
Thank you for your feedback
Sorry! We couldn't be helpful
Thank you for your feedback
Feedback sent
We appreciate your effort and will try to fix the article