Description: This is how the Application Variables Action works and how it can be integrated into call flows.
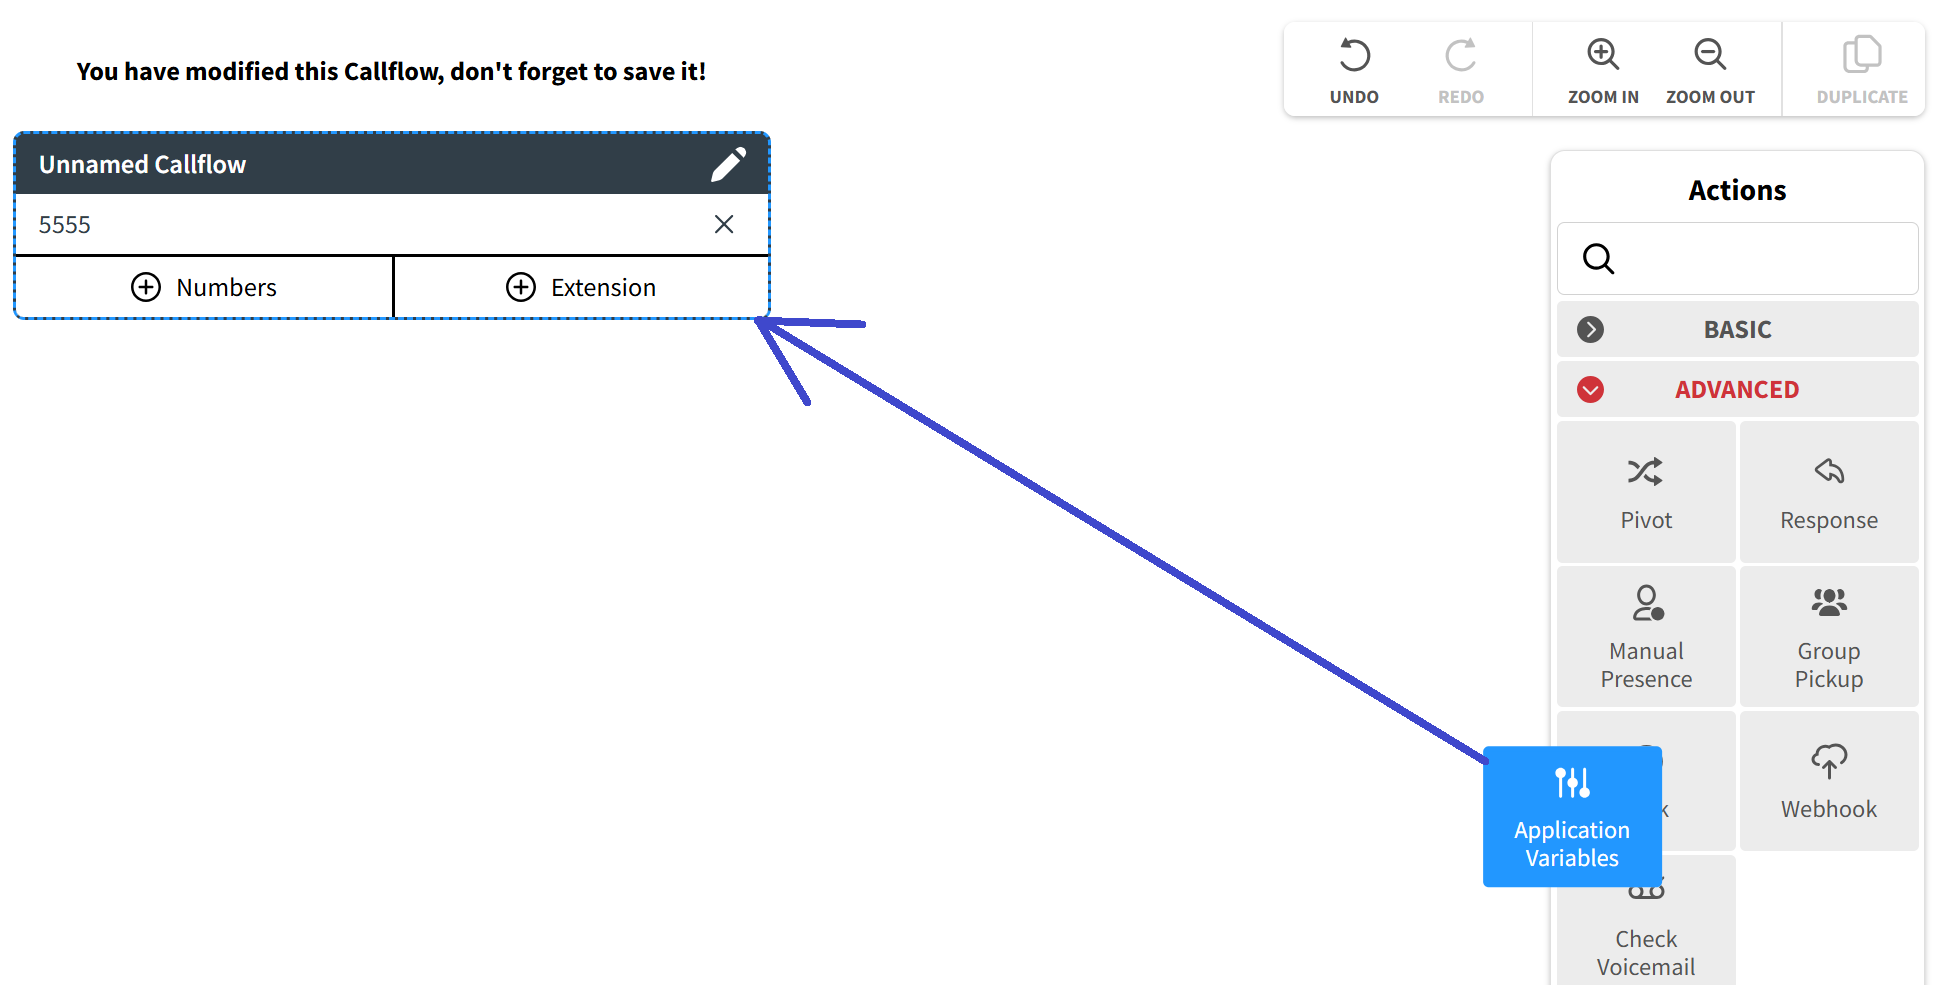
After creating a new call flow and completing the Main Callflow Block with essential information, you can implement the Application Variables Action to the configured call flow. The Application Variables Block is located within the Advanced group of Actions in the Catalog of Actions on the Callflow Configurator's right-hand side.
A Variable is a parameter that is used in call routing for directing a call to a specific destination, such as a voicemail box, device, menu, etc., by using the information transmitted with the call.

Call flows can be made more versatile and adaptable to different situations by incorporating route variables, which enable them to handle a range of custom scenarios.
By using the drag-and-drop technique, you can transfer the Application Variables Block from the Catalog and integrate them into several places of the Callflow diagram.
When you drop the Application Variables Block onto the Callflow diagram, a pop-up window will appear. In technical terms, this form contains not only buttons but also a Table of Variables that is currently hidden because this Block does not have any variables yet. Once you create at least one variable, the Table of Variables will become visible.

To create a custom variable, you need to click on the "Add Variable" button, which will open a pop-up window with only one field:
- Variable Type: when you click on this field, a drop-down menu will be displayed, presenting you with a list of all the possible variable Types.

Once you have selected the desired type and pressed the "Save Changes" button, you will be taken back to the previous pop-up window, where the Table of Variables will appear.

The first column of a new row in the Table of Variables displays the variable Type you selected in the previous pop-up window. Now you need to fill out the remaining two fields in this row.
- Variable: in this field, you should enter any value for the variable. There are no specific requirements for it.
- Element: when you click on this field, a drop-down menu will be displayed, presenting you with all the phone system elements (voicemail boxes, devices, menus, etc.) of the selected Type that you have chosen.
Clicking on the "Save Changes" button will save the variable in the Table of Variables. Clicking on the minus icon will either discard a configuring variable or delete an existing one. You can add any number of additional variables by clicking on the "Add Variable" button and following the same process as described above.
A properly configured Application Variables Block integrated into a call flow will be displayed as follows.
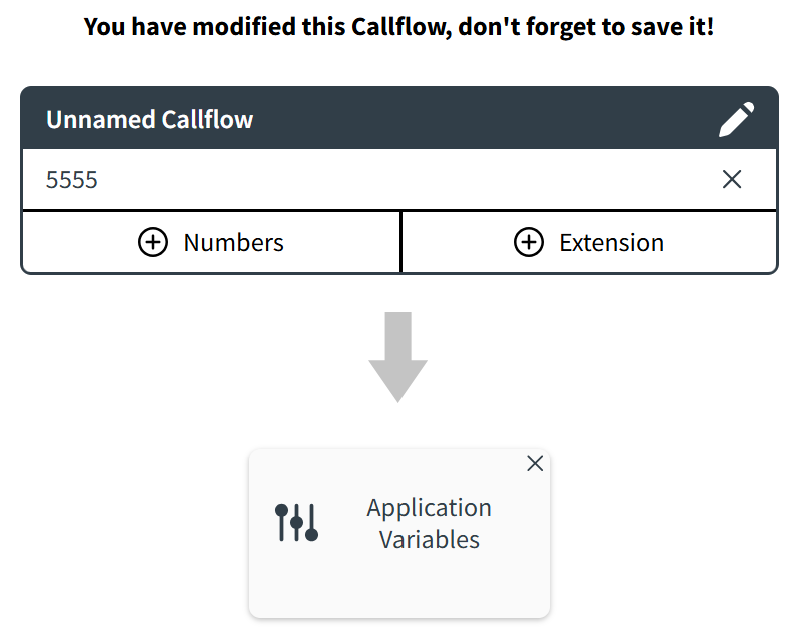
Within the Block, there is no indication of all the previously set Variable Type and other values.
Once changes in the Callflow diagram have been made, the "Save" button will become active, and clicking on it will open a drop-down menu with three saving options.

- Save Changes: by clicking this button, you will easily save all of the changes you have made.
- Save and Duplicate: clicking on this button will save all modifications made to the current call flow and create a new call flow that duplicates the original. The name of the duplicated call flow will include the name of the original call flow, followed by the word "copy".
- Save and Create: clicking on this button will save all modifications made to the current call flow and create a new empty call flow.
- Cancel: clicking on this button will cancel any modifications made to the call flow. If changes have been made, the system will prompt you to confirm the cancellation of those changes.

Was this article helpful?
That’s Great!
Thank you for your feedback
Sorry! We couldn't be helpful
Thank you for your feedback
Feedback sent
We appreciate your effort and will try to fix the article